DIY wedding centerpieces help couples save money and add personality to a reception. The article shows clear steps for planning, easy concepts that look costly, and one full how-to. It lists materials, timing, and cost tips. It keeps instructions simple so anyone can follow them. The pieces suit different themes and scale from small gatherings to large receptions.
Key Takeaways
- DIY wedding centerpieces offer a cost-effective way to personalize wedding decor while fitting various themes and reception sizes.
- Planning is crucial: set a clear budget, choose a theme, create a timeline, and prepare a detailed materials checklist to avoid overspending and last-minute stress.
- Five simple centerpiece ideas—including mason jars with mixed blooms and floating candles in glass bowls—can look elegant without a high cost.
- Step-by-step instructions for mason jar floral centerpieces show how to create stylish arrangements that suit rustic, modern, or elegant styles.
- Organize labor, packing, and transport carefully by estimating assembly hours, using sturdy containers, and labeling boxes to ensure smooth setup at the venue.
Plan Your Centerpieces: Budget, Theme, Timeline, and Materials Checklist
Set a clear budget before shopping. He or she should list a total amount for centerpieces and divide it by table count. That step gives a per-table limit and prevents overspending.
Choose a theme next. The planner should pick a color palette, a style (modern, rustic, vintage, minimalist), and a focal material (flowers, candles, wood, glass). Matching the venue lighting and table linens makes the centerpieces look intentional.
Create a timeline. Reserve three weeks for sourcing supplies, one week for trial runs, and the final two days for assembly. Vendors and florists often need lead time. The timeline avoids last-minute rush fees.
Make a materials checklist per table. The checklist should include a primary item (vase, jar, or stand), filler items (flowers, greenery, or candles), tools (scissors, floral tape, glue gun), and optional decor (ribbon, stones, or name tags). Buying spare materials for 10% of tables reduces risk.
Plan for labor. Decide who will build the centerpieces and how many can assemble per hour. If friends assemble five pieces per hour, multiply by table count to estimate total volunteer hours. Hire one helper if the schedule looks tight.
Consider storage and transport. He or she should choose containers that stack or fit in boxes. Test a trial centerpiece in the car to ensure it will survive transport. Label boxes by table number to speed setup at the venue.
Track costs and inventory. Use a simple spreadsheet with columns for item, quantity, cost, and source. That sheet helps the planner spot cheaper suppliers and track what remains after assembly.
Five Easy DIY Centerpiece Concepts That Look Expensive (With Quick Material Lists)
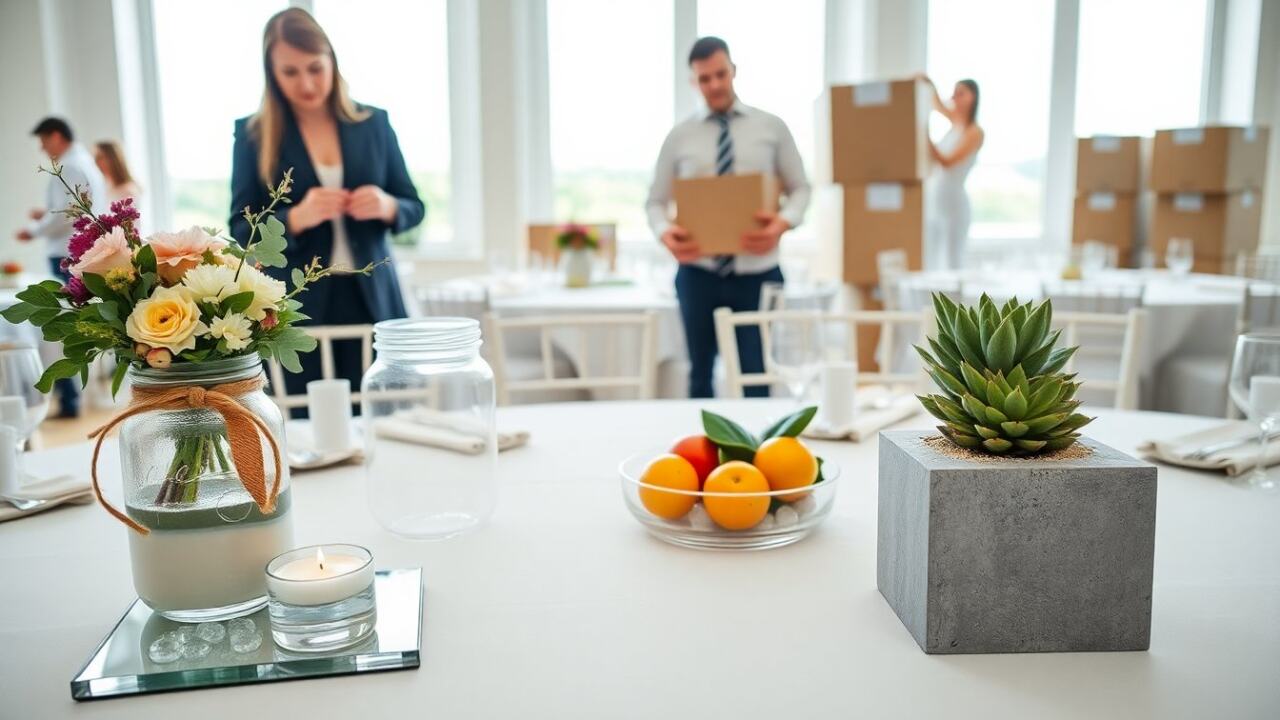
- Mason jars with mixed blooms
- Materials list: mason jars, mixed seasonal flowers, greenery, floral tape, water tubes (optional), ribbon.
- Why it works: Mason jars give a clean base. Seasonal blooms cut cost and match color palettes.
- Floating candles in glass bowls
- Materials list: low glass bowls, floating candles, water, glass pebbles, LED lights (optional).
- Why it works: Water reflects light and creates an upscale glow at low cost.
- Minimalist concrete or painted blocks
- Materials list: small concrete planters or painted wooden blocks, single-stem flowers or succulents, foam insert.
- Why it works: The simple shape reads modern and looks intentional with little material.
- Tea light towers on mirrored tiles
- Materials list: stacked glass votives or tea light holders, mirrored tiles, small flowers or greenery sprigs.
- Why it works: Mirrors double the light and make small candles appear larger.
- Fruit and greenery arrangement
- Materials list: seasonal fruit (citrus, pears), greenery clippings, shallow tray, small blossoms.
- Why it works: Fruit adds color, weight, and texture for a natural, abundant look.
Each concept fits many themes and scales by changing color, size, or container. He or she can mix concepts across tables for visual interest.
Step-By-Step: Mason Jar Floral Centerpiece With Variations For Different Styles
Materials list: mason jars (one per table), mixed flowers (6-10 stems per jar), greenery, floral tape, scissors, ribbon or twine, water.
Step 1: Prepare jars. He or she should wash jars and remove labels. Wrap floral tape in a grid across the jar mouth to hold stems in place.
Step 2: Trim stems. Cut stems at a 45-degree angle. Cut stems to a height that sits one to two inches above the jar rim. That height keeps sight lines open across the table.
Step 3: Build a base of greenery. Place several greenery stems into the jar. The greenery anchors the flowers and hides stems.
Step 4: Add focal flowers. Insert three focal stems spaced evenly. Rotate the jar as you add stems to keep the arrangement balanced.
Step 5: Fill with secondary blooms. Add smaller flowers to fill gaps. Adjust stems until the jar looks full but not overcrowded.
Step 6: Finish and water. Add water to cover stems and tie ribbon or twine around the jar neck for a finished look.
Variation: Rustic style. Use twine instead of ribbon and pick wildflowers and baby’s breath. Add a small wood slice under the jar for height.
Variation: Modern style. Paint the lower half of the jar in a single matte color. Use monochrome flowers and minimal greenery.
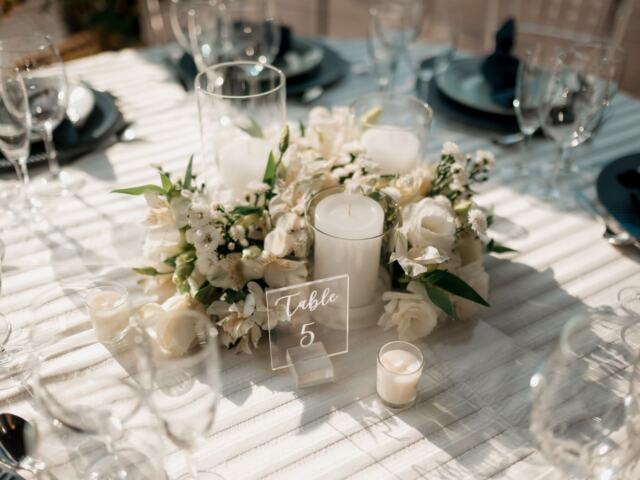
Variation: Elegant style. Use clear jars, white roses, and eucalyptus. Add a small candle on a mirrored tile beside the jar.
Packing and transport tip: Place jars upright in boxes with dividers. Pack extra water and a bottle opener to remove sealed lids. Label boxes by table number to speed placement at the venue.
This mason jar method uses common materials and simple steps. It gives a high-end look for low cost and suits most wedding themes.